Setting up Google Ads server-side tracking is very simple. There are fewer steps compared to configuring Facebook CAPI for instance.
Make sure to check Google’s documentation for setting up Google Ads tracking with server-sdie tagging as well.
Step 1: set up your Google Tag
First, we will add some essential parameters that we will dispatch to the server container.
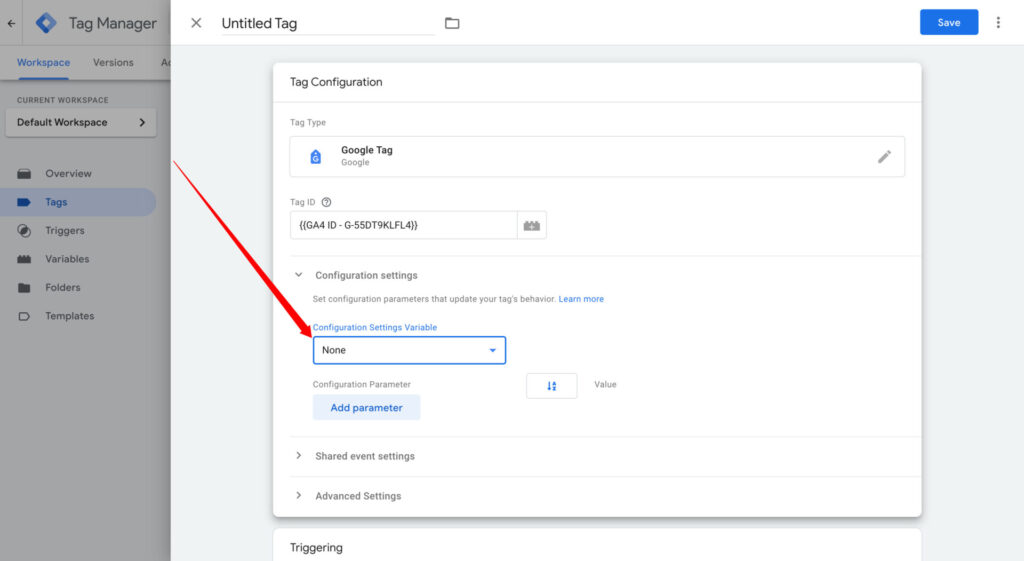
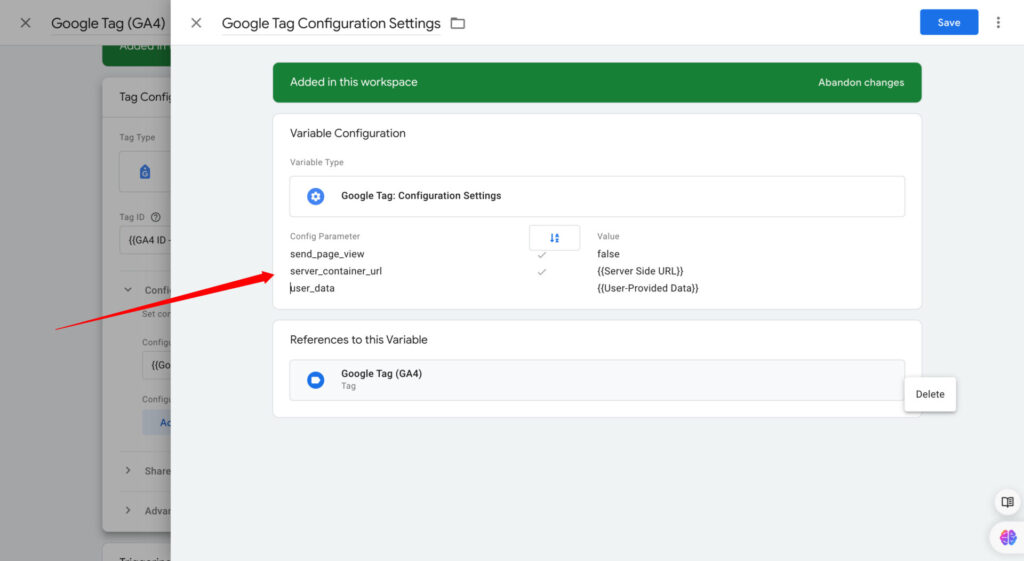
In the Settings Variable, add:
server_container_url: you need to add your server’s URL.send_page_view: set this parameter tofalse. We prefer to sue a dedicated event tag to send thepage_viewevent.user_data: this one will send users personal data like email to server GTM. Check this section to set this up.
How to set up enhanced conversion?
We will send additional data like email and first name to Google Ads in hashed format (done automatically by Google Ads). If you are tracking forms or conversions in general where users leave their personal data like phone numbers, you can send this data along with events to the server container.
Use data layers when you can
I highly recommend using data layers to get the users data from your website. Other methods are fine, but your developer team can push this so you can capture it with GTM.
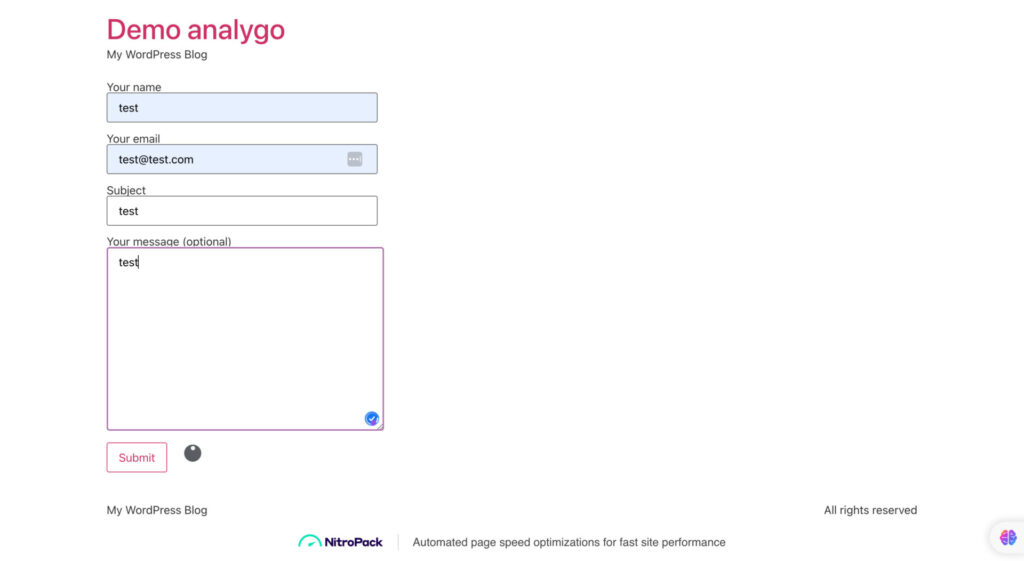
This is the form we are using in this example. We will get the fields inputs using data layers
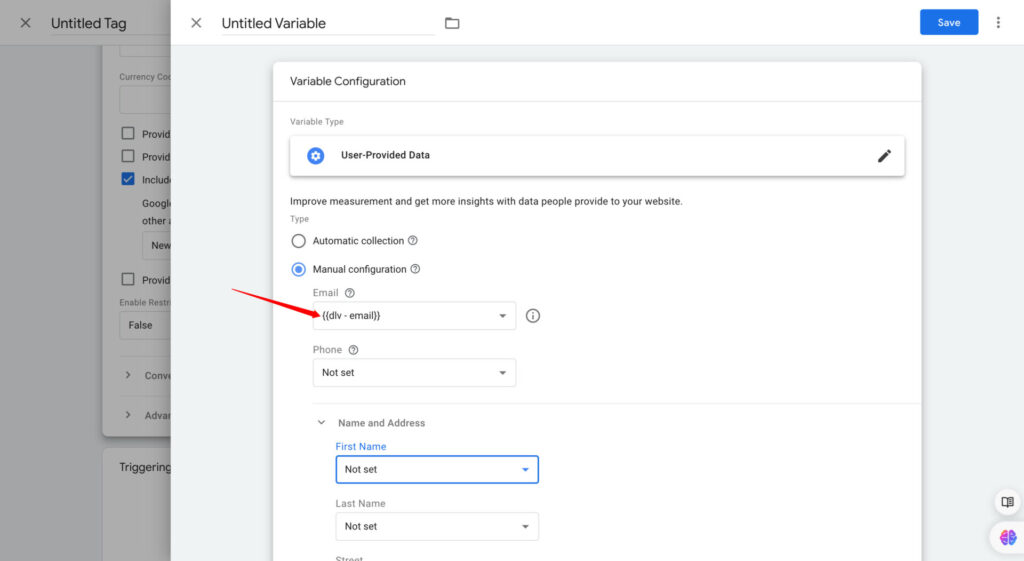
Save and move to the trigger.
Next, we will add a trigger set to initialization.
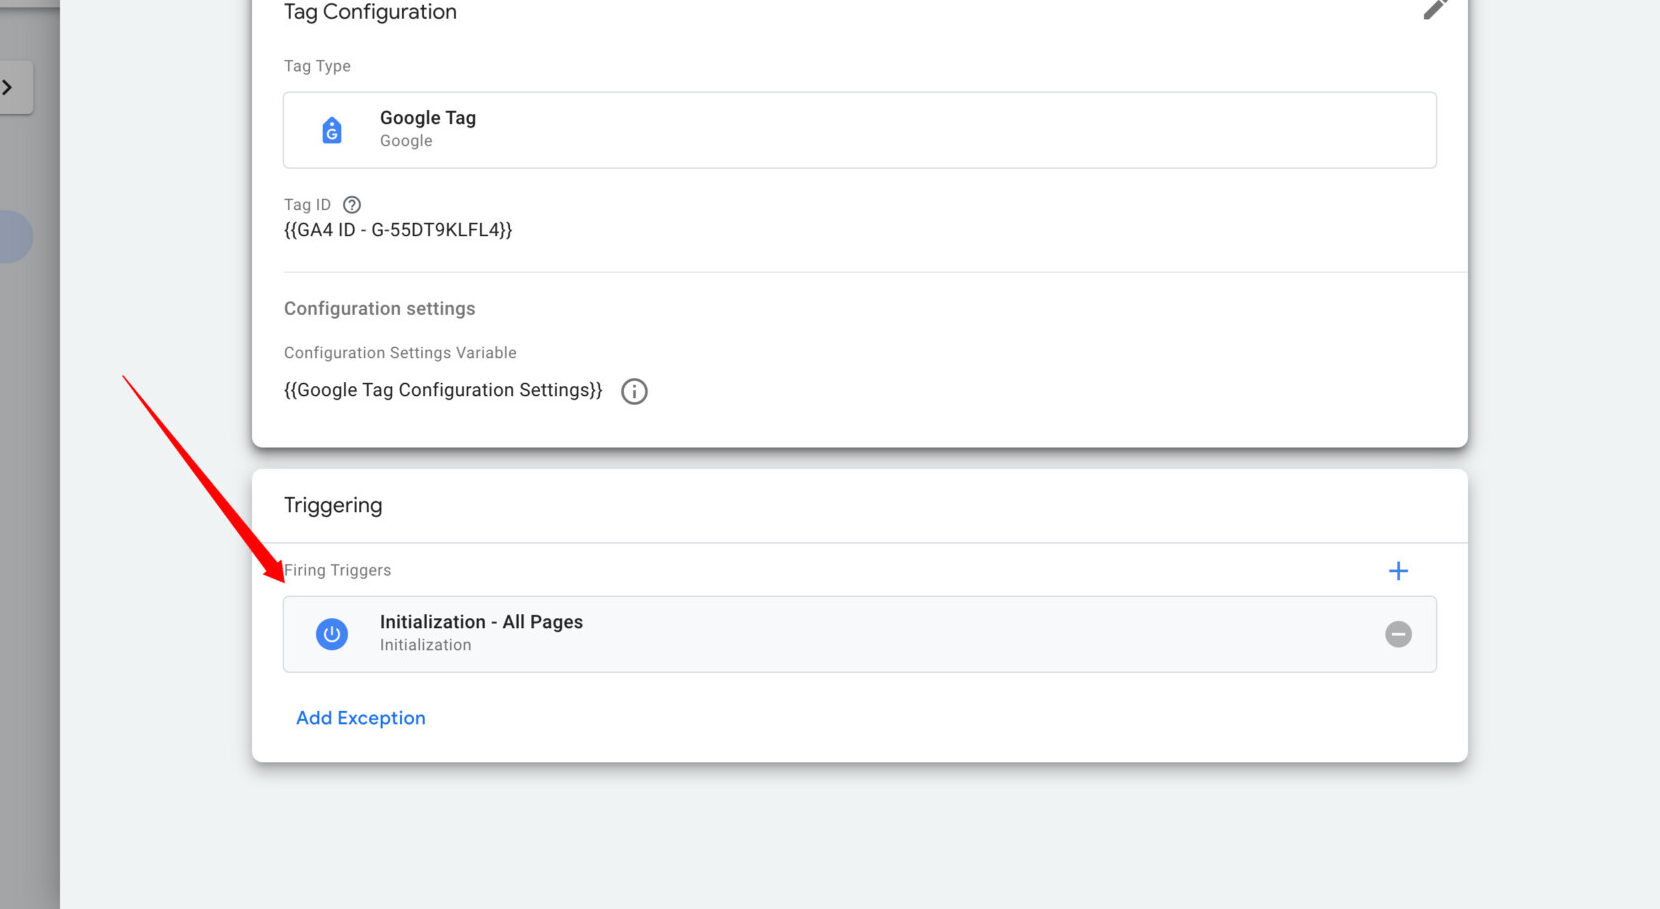
Finally, save your tag and let’s move to the next step.
Step 2: Create a Google Ads Conversion
Note
You can skip this part if you already configured a conversion in GTM.
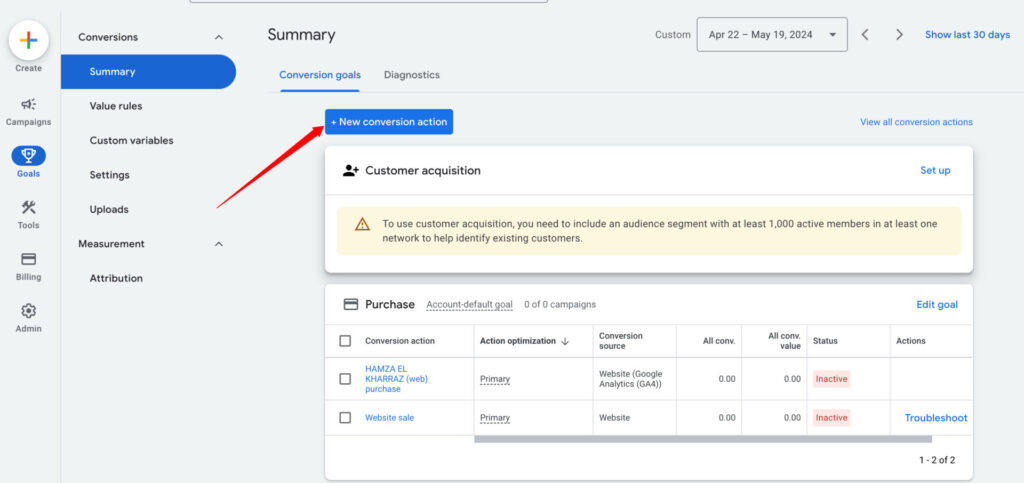
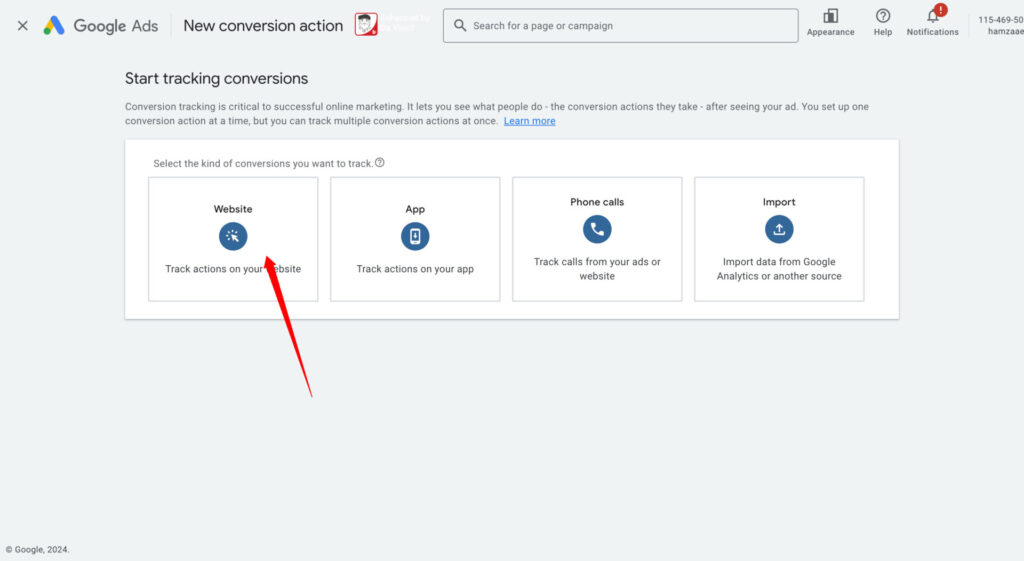
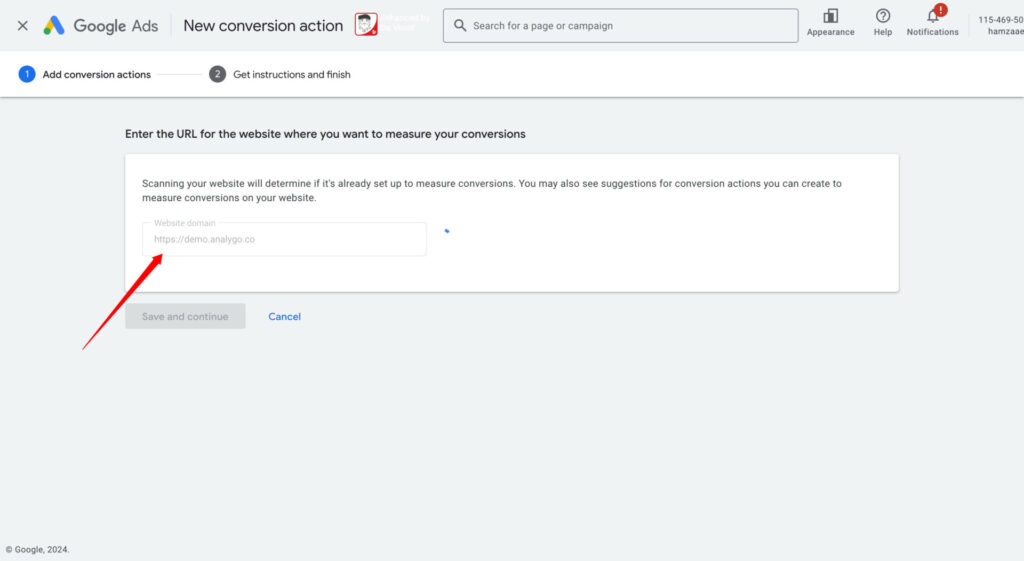
Next, we will select website as our conversion source and Add your website URL for scanning
We will add the conversion manually. It will trigger when a user submits a form on our website.
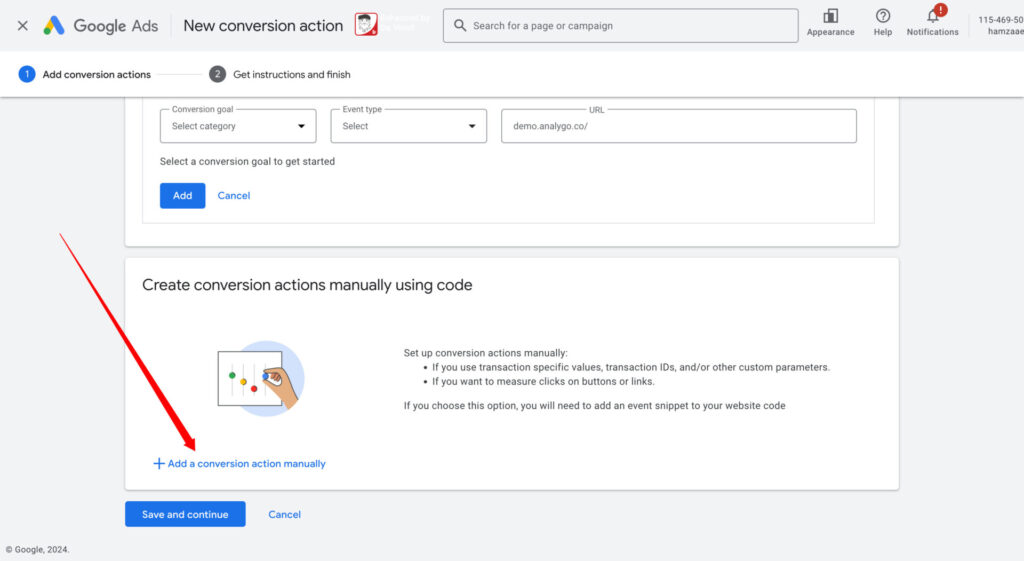
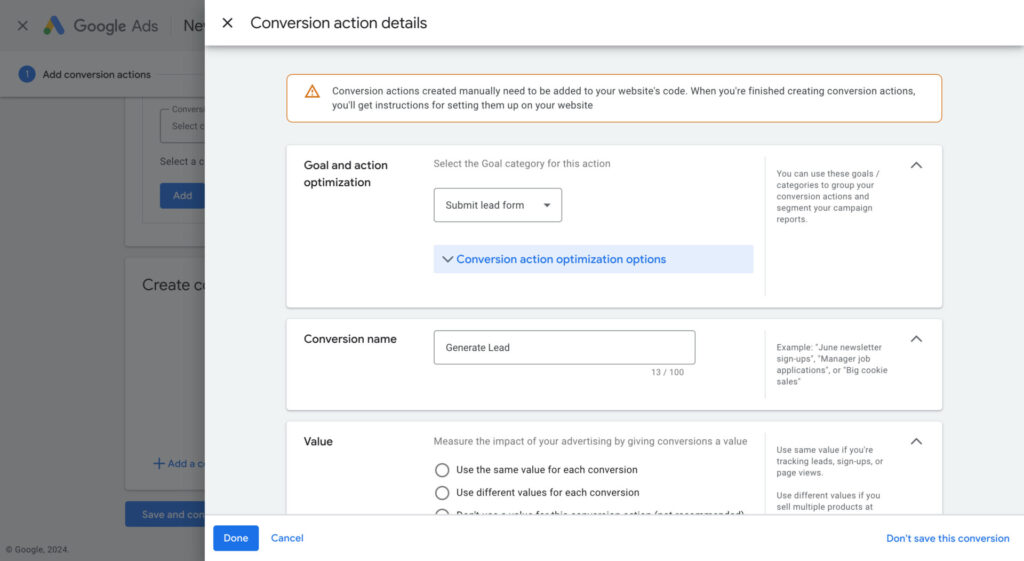
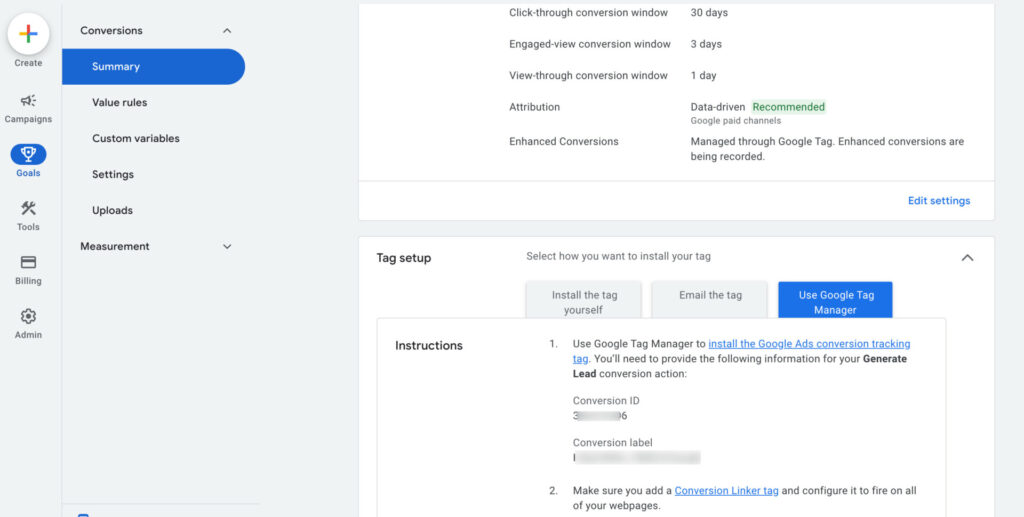
Click on save and continue. In “Use Google Tag Manager” tab, get the conversion label and conversion ID
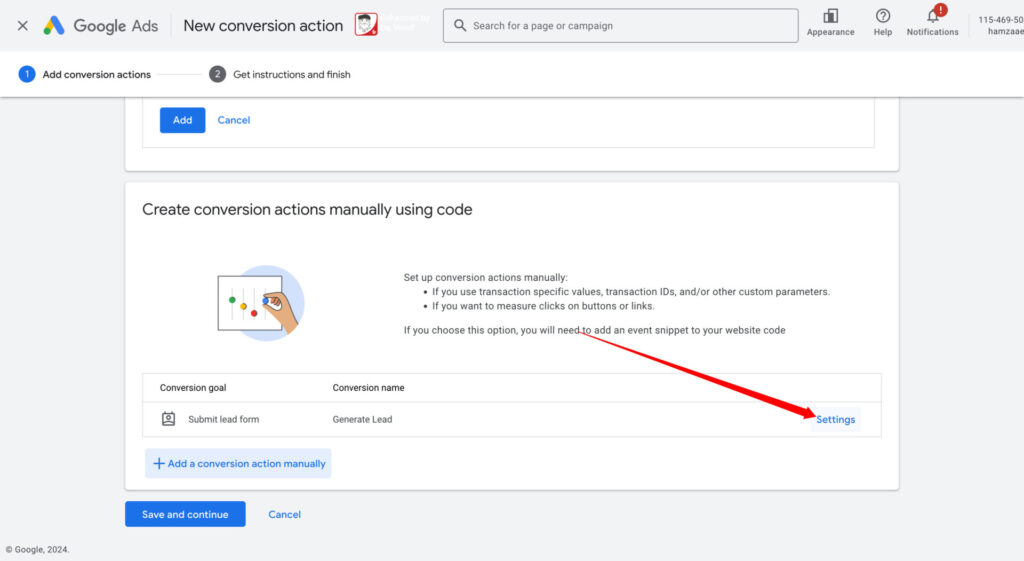
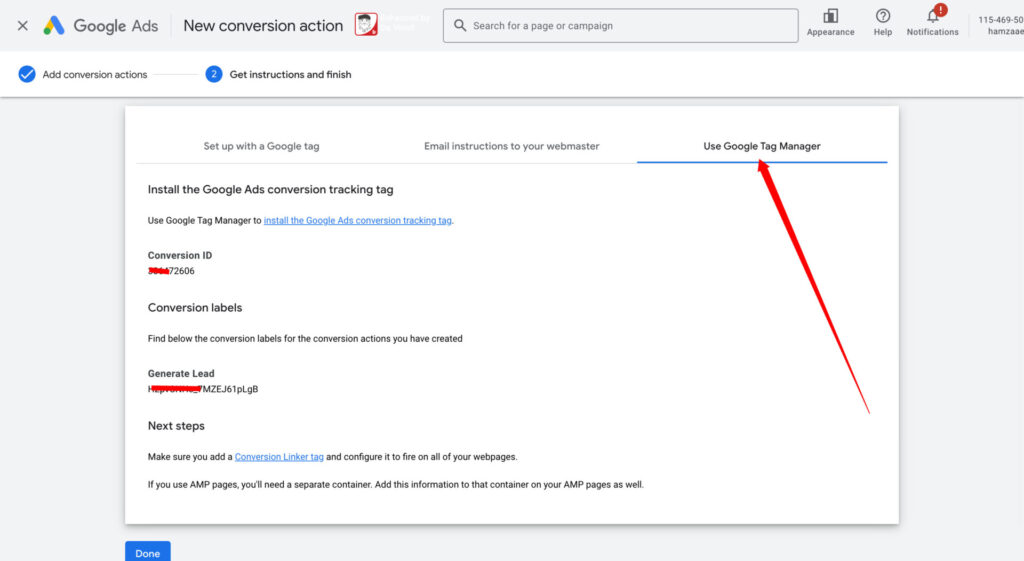
Step 3: Configure Google Ads tag in server GTM
In server container, look for Conversion Linker and add it to your workspace.
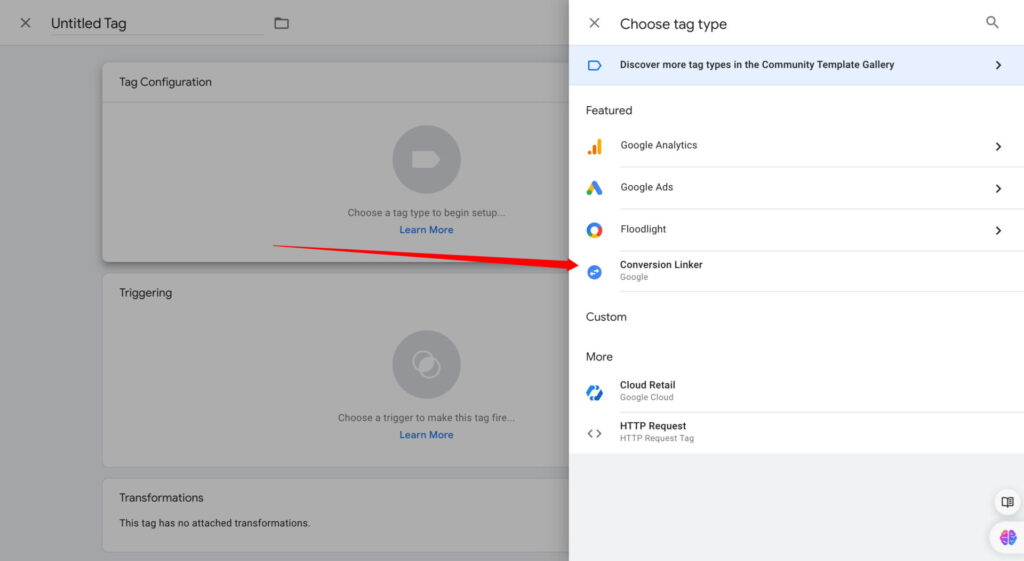
What is a conversion linker
It’s a tag by Google that stores ad click information like Google click identifier (Glicid) so that google can associate any conversions that happen on your website with the right user later on.
Set up the conversion tag
Earlier, we created a conversion to track form submissions. It’s time to configure a conversion tag to send this data to Google Ads.
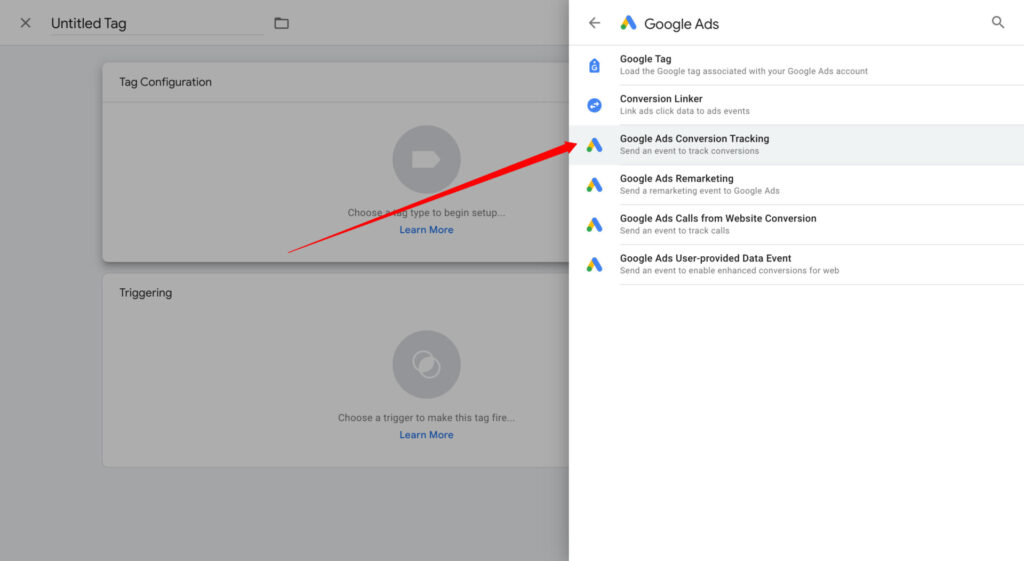
Next, add your conversion’s label and ID, which can be found in the tag set up section in Google Ads. Paste them in the conversion tag in GTM.
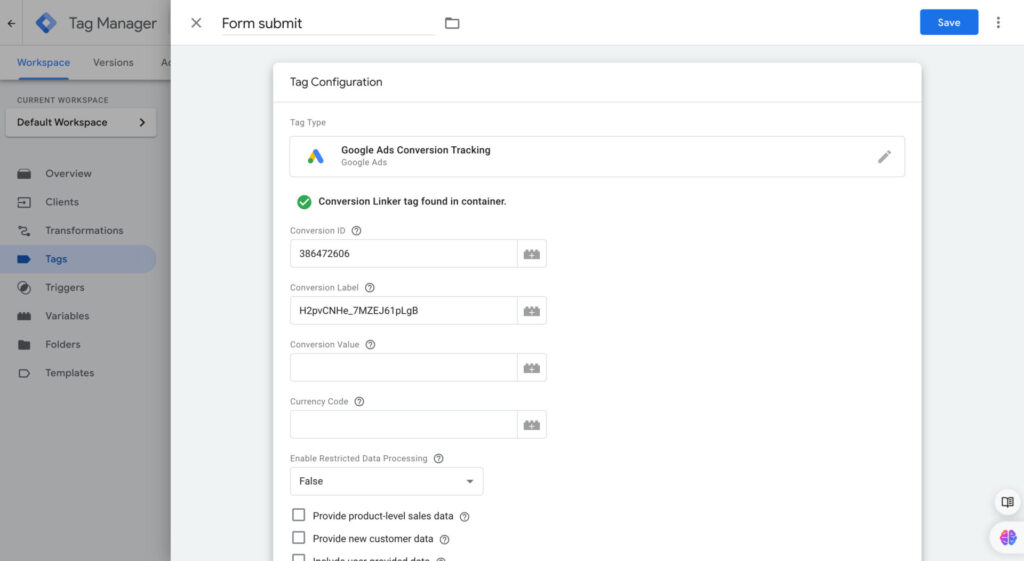
The conversion will be recorded when the form_submit is triggered.
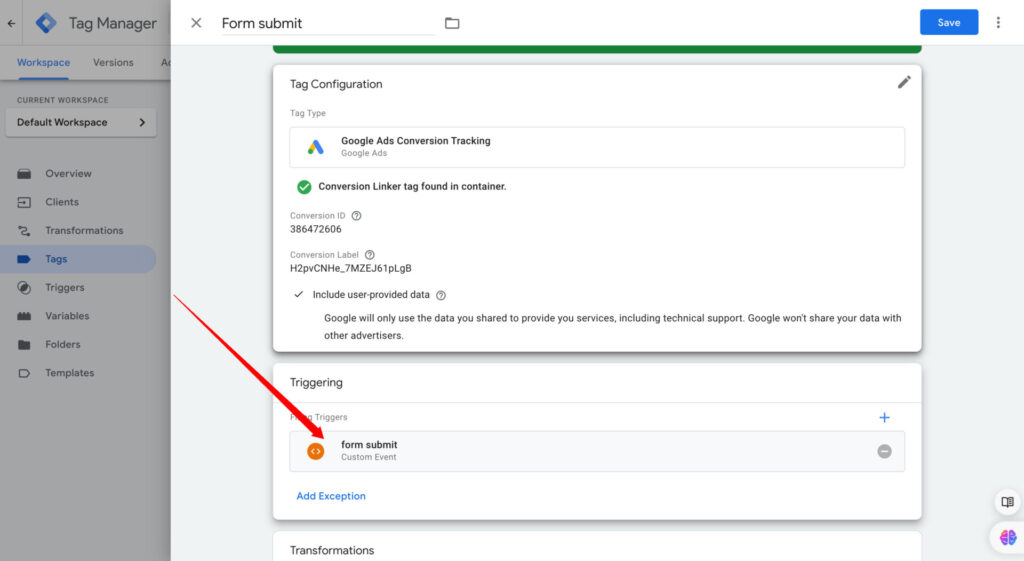
Important
Make sure to check include user provided data as you can see above.
Step 4: test your set-up
We are almost done. Let’s trigger a form submission and see if our server Google Ads tag is sending data properly to Google Ads. Click on preview for both server and client GTMs.
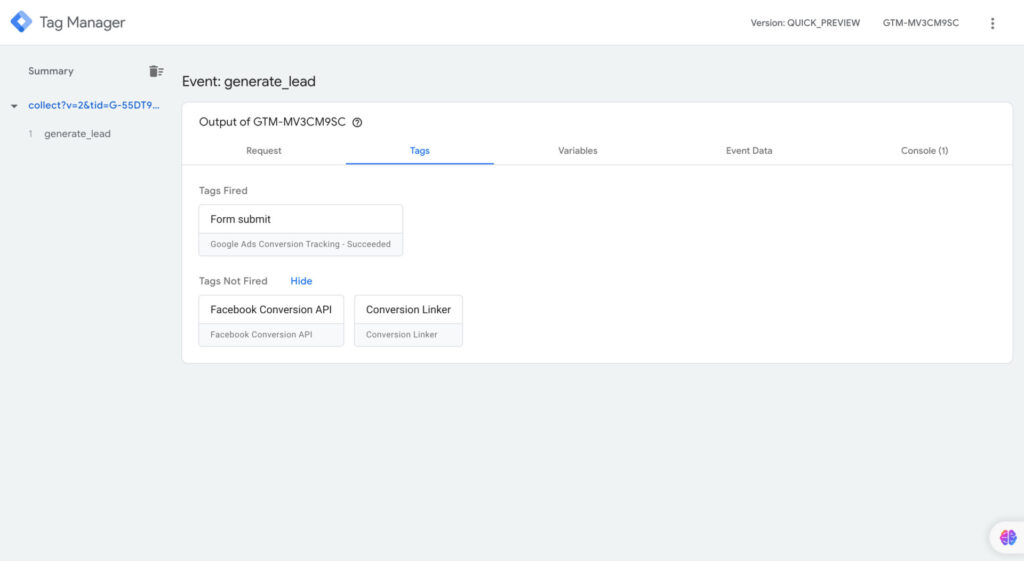
Make sure to check your conversion in Google Ads after 48 hours or so.

